Studio Terabyte is a full stack web development studio who finds and builds solutions that fit your project
What is Lighthouse?
Lighthouse is an open-source analysis tool created by Google which can automaticaly check websites on performance, accessibility, progressive web apps, SEO and more. The resultats of the analysis can help your website be faster by highlighting possible issue such as large images, unnecessary JavaScript and a slow server.
The tool is built into Google Chrome and can be used directly from the dev tools or as a stand-alone Node module. But there is also a third option that we are going to focus on this blog post: Lighthouse CI.
What is Lighthouse CI?
Lighthouse CI makes it possible to automatically generate Lighthouse reports for every pull request that is being opened. This means that you can easiliy see if the code you wrote, and now want to add to your codebase, has a negative (or positive ofcourse) effect on the speed of the website before it is live in production. This helps prevent regression and ensures a focus on website performance in addition to the code itself.
Lighthouse CI & GitHub Actions
Configuration
To make use of Lighthouse CI there ofcourse has to be a CI pipeline. In this blog post we make use of GitHub Actions, a populair and easy way of automatically running scripts such as unit tests, linters and other build scripts. To start with this we need to create a lighthouse.yml file in the .github/workflows folder. The structure should look like this:
.
├── .github
│    └── workflows
│        └── lighthouse.yml
├── ...
├── ...
Now open lighthouse.yml and add the following code:
name: CI
on: [push]
jobs:
  lhci:
    name: Lighthouse
    runs-on: ubuntu-latest
    steps:
      - uses: actions/checkout@v2
      - name: Use Node.js 12.x
        uses: actions/setup-node@v1
        with:
          node-version: 12.x
      - name: npm install, build
        run: |
          npm install
          npm run generate
      - name: run Lighthouse CI
        run: |
          npm install -g @lhci/cli@0.8.x
          lhci autorun
Here we configuerd the steps that GitHub Actions needs to take to generate a Lighthouse report. We indicate that we want to use the latests version of Ubuntu together with Node.js 12, after this we install all dependencies using NPM, generate the static version of the wesbite (this is a Nuxt website) and finally we run lhci (Lighthouse CI) to start Lighthouse CI tool.
Besides lighthouse.yml there is another configuarion file needed. Create lighthouserc.js in the root of the project:
.
├── .github
│    └── workflows
│        └── lighthouse.yml
├── lighthouserc.js <-- This file
├── ...
Now open this file and add the following code:
module.exports = {
    ci: {
        collect: {
            startServerCommand: 'npm start',
        },
        upload: {
            target: 'temporary-public-storage',
        },
    },
};
lighthouserc.js is a configuration file in which different Lighthouse CI settings can be changed such as how often the analysis needs to run, which URLs have to be analysed and as seen in the code where to save the results. For now we use the free temporary public storage provided by Google. A different option would be to host your own Lighthouse CI server. Here your results will be saved privately and you can save them as long as you'd like so that you can easily compare results over time. We also indicate that the server can be started with the npm start command. Lighthouse CI will detect and use this server automatically to use for the analysis.
If you now create a new branch and push it to GitHub, you'll see a Github Action start which will run Lighouse CI! 🎉
GitHub LightHouse CI App
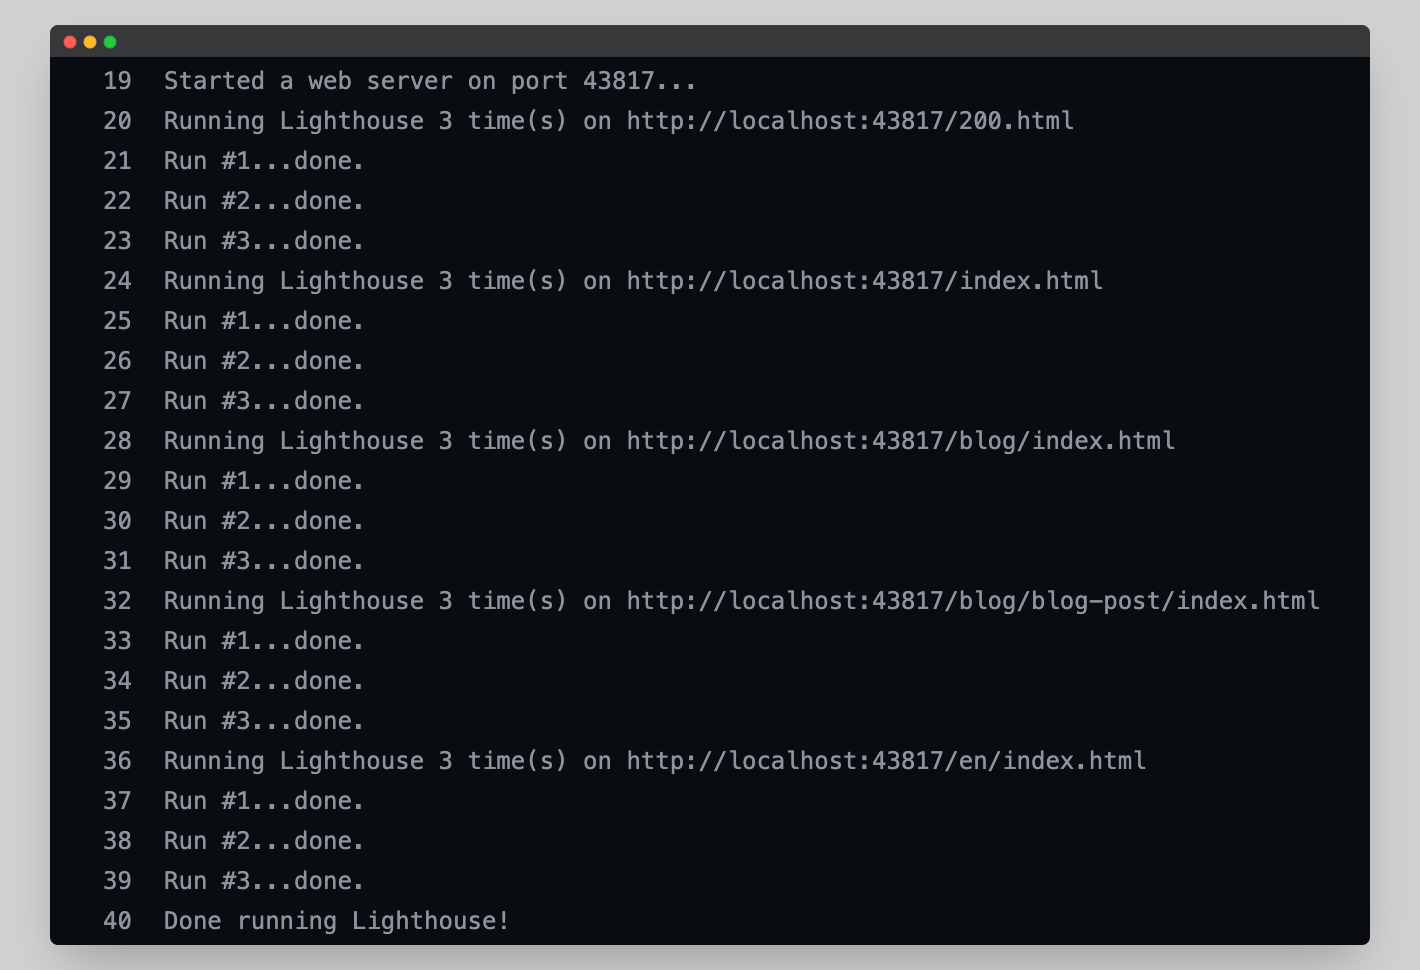
As you already may have seen, Lighthouse CI now runs for each push to the pull request branch as expected but the results are only displayed in the GitHub Actions log.
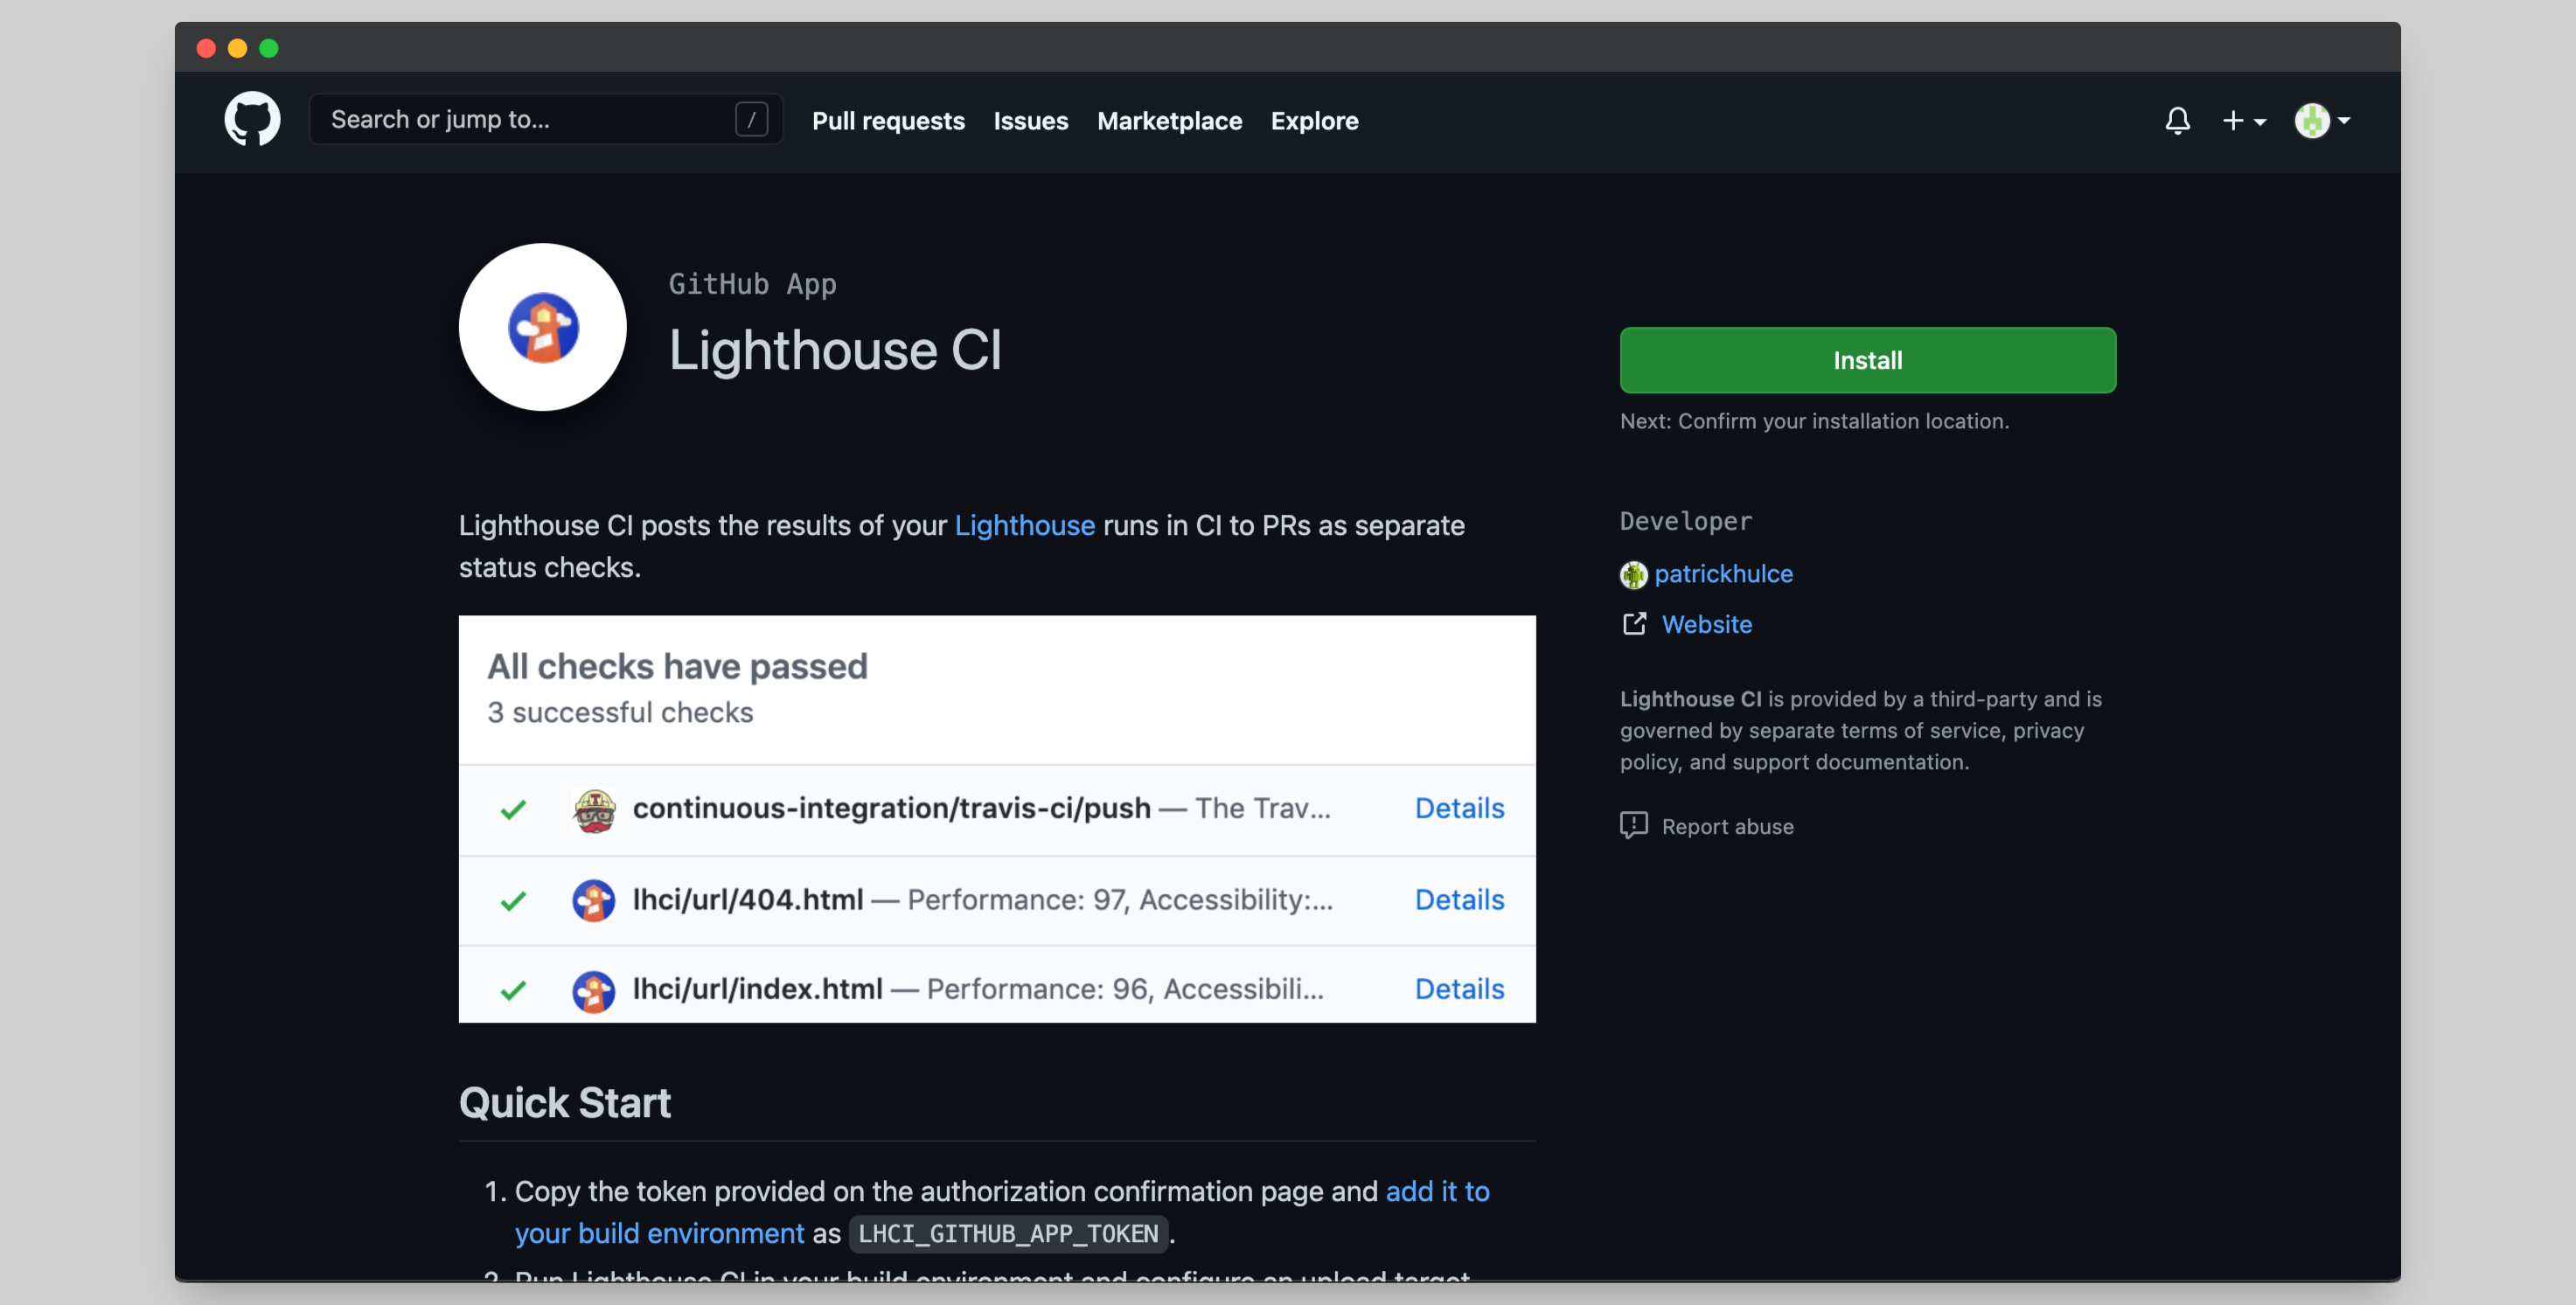
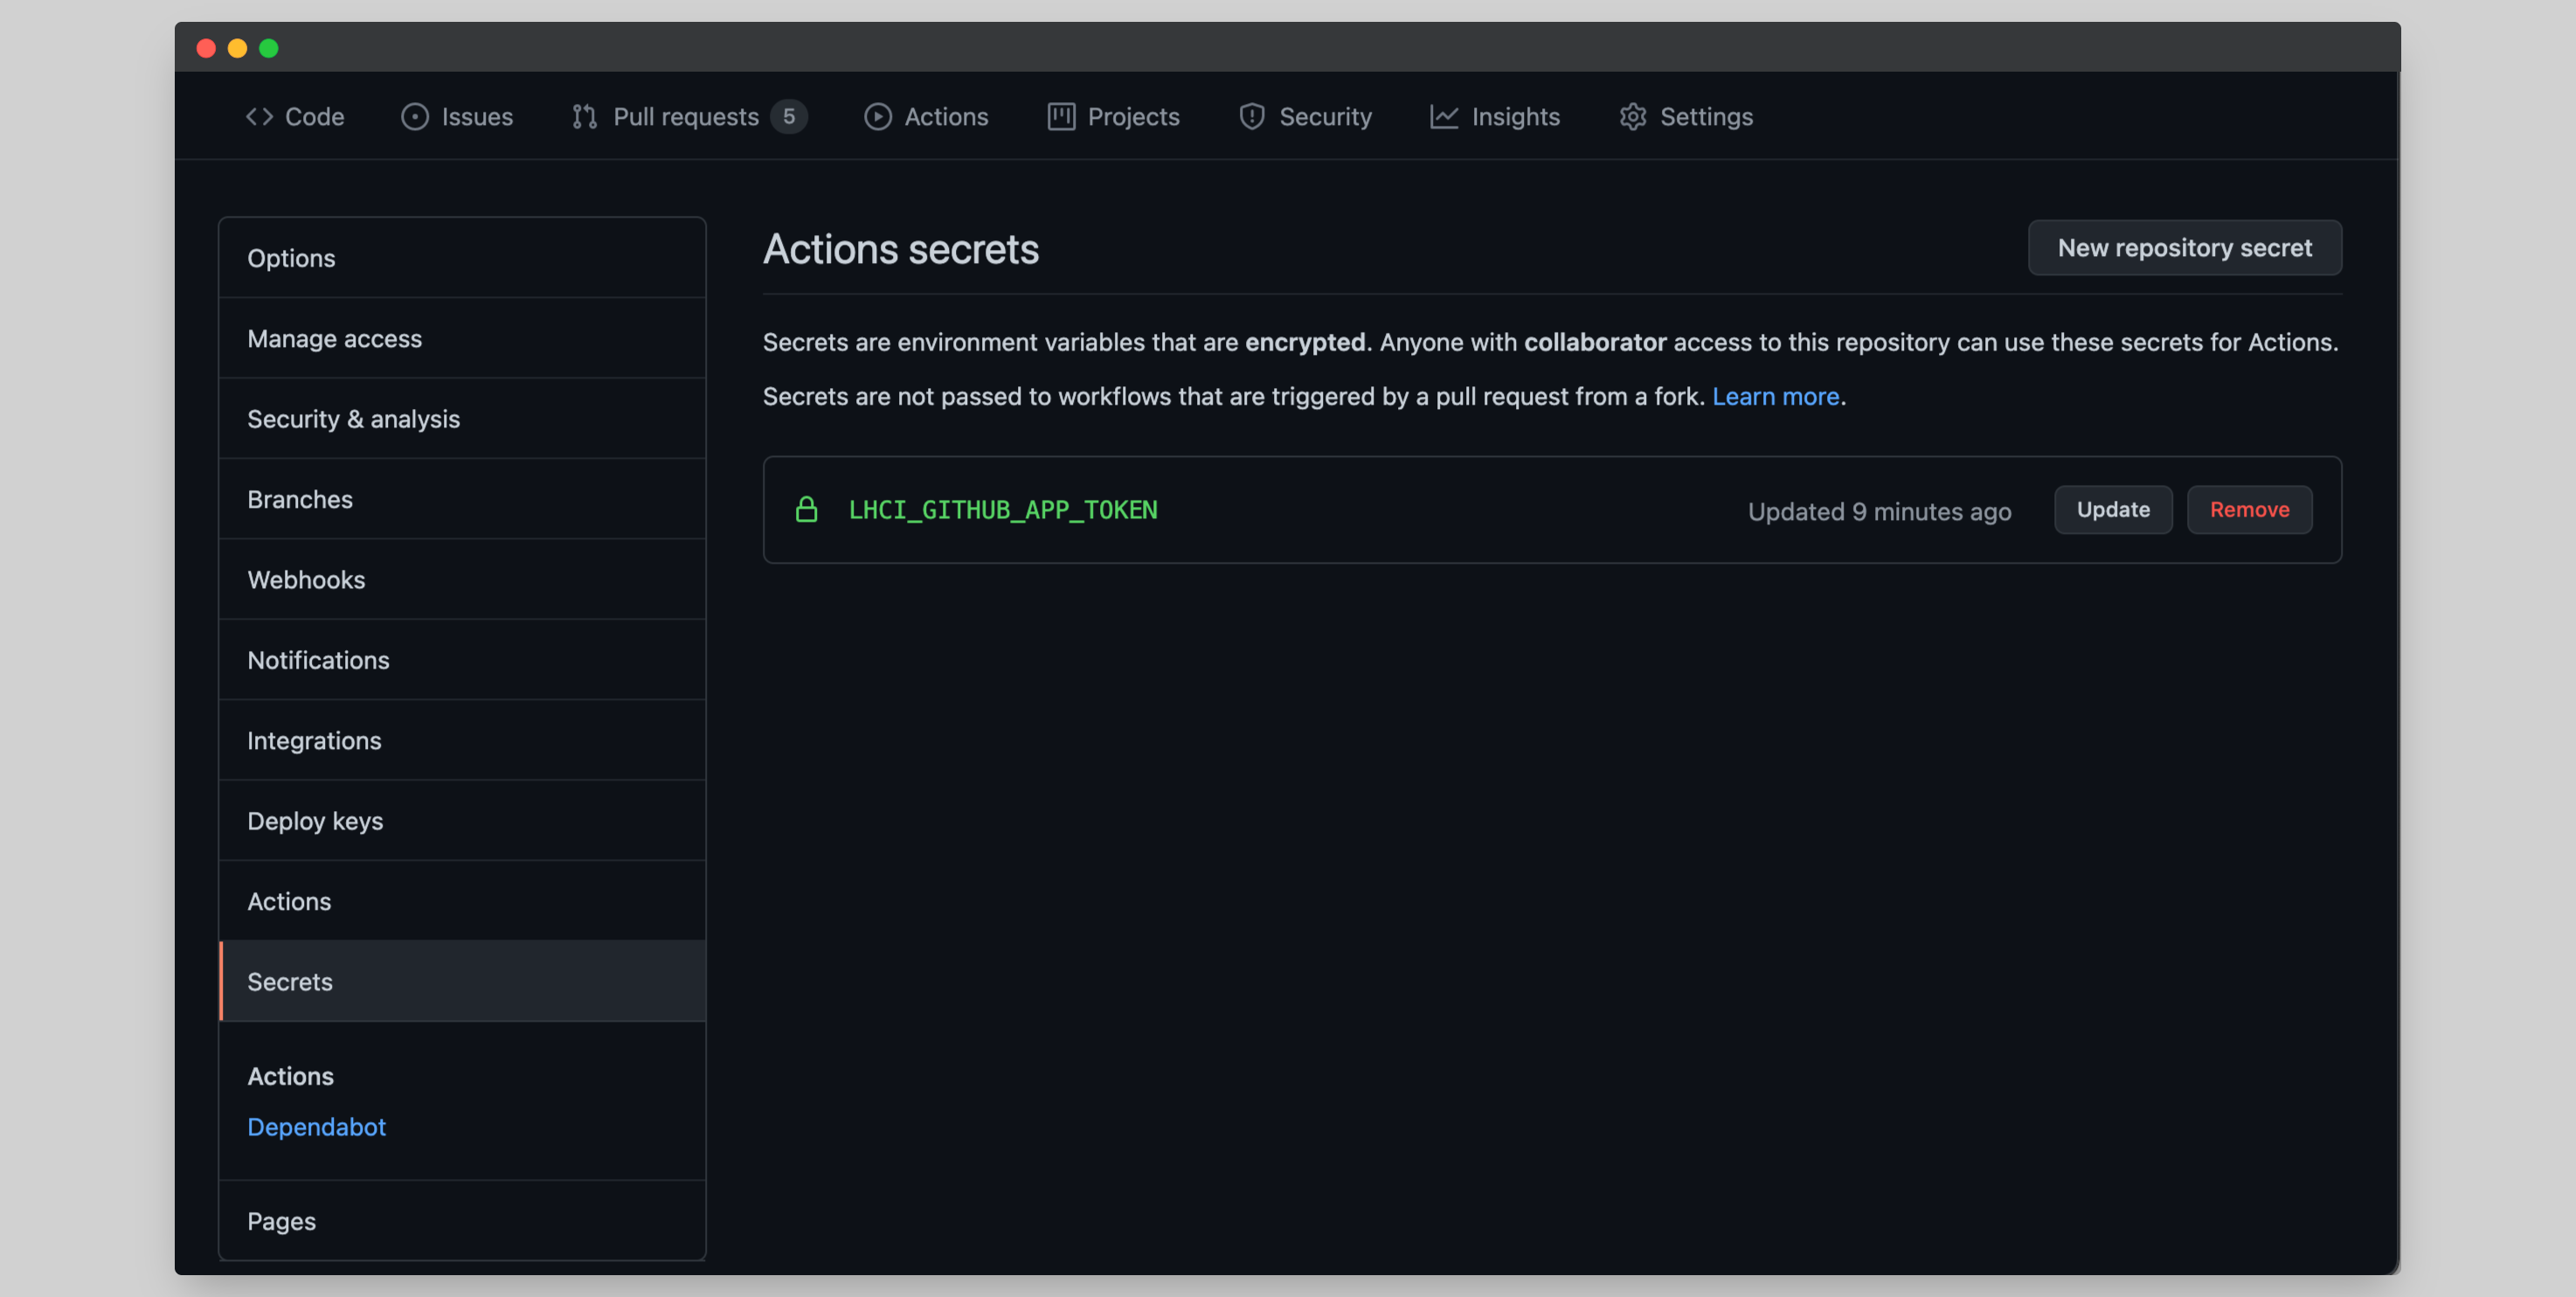
It would be more convenient if the results were directly visible from the pull request overview so that any possible negative results won't be missed. To achieve this we can make use of the official GitHub Lighthouse CI App. Open de link to the app and click on "Install", then choose if you want the app to be able to access all your repositories or just a selection. After this you will get a token, copy this an create a new secret in the repository you are working with the name LHCI_GITHUB_APP_TOKEN.
Add the token to the lighthouse.yml file under the run Lighthouse CI step
      - name: run Lighthouse CI
        run: |
          npm install -g @lhci/cli@0.8.x
          lhci autorun
        env:
          LHCI_GITHUB_APP_TOKEN: ${{ secrets.LHCI_GITHUB_APP_TOKEN }}
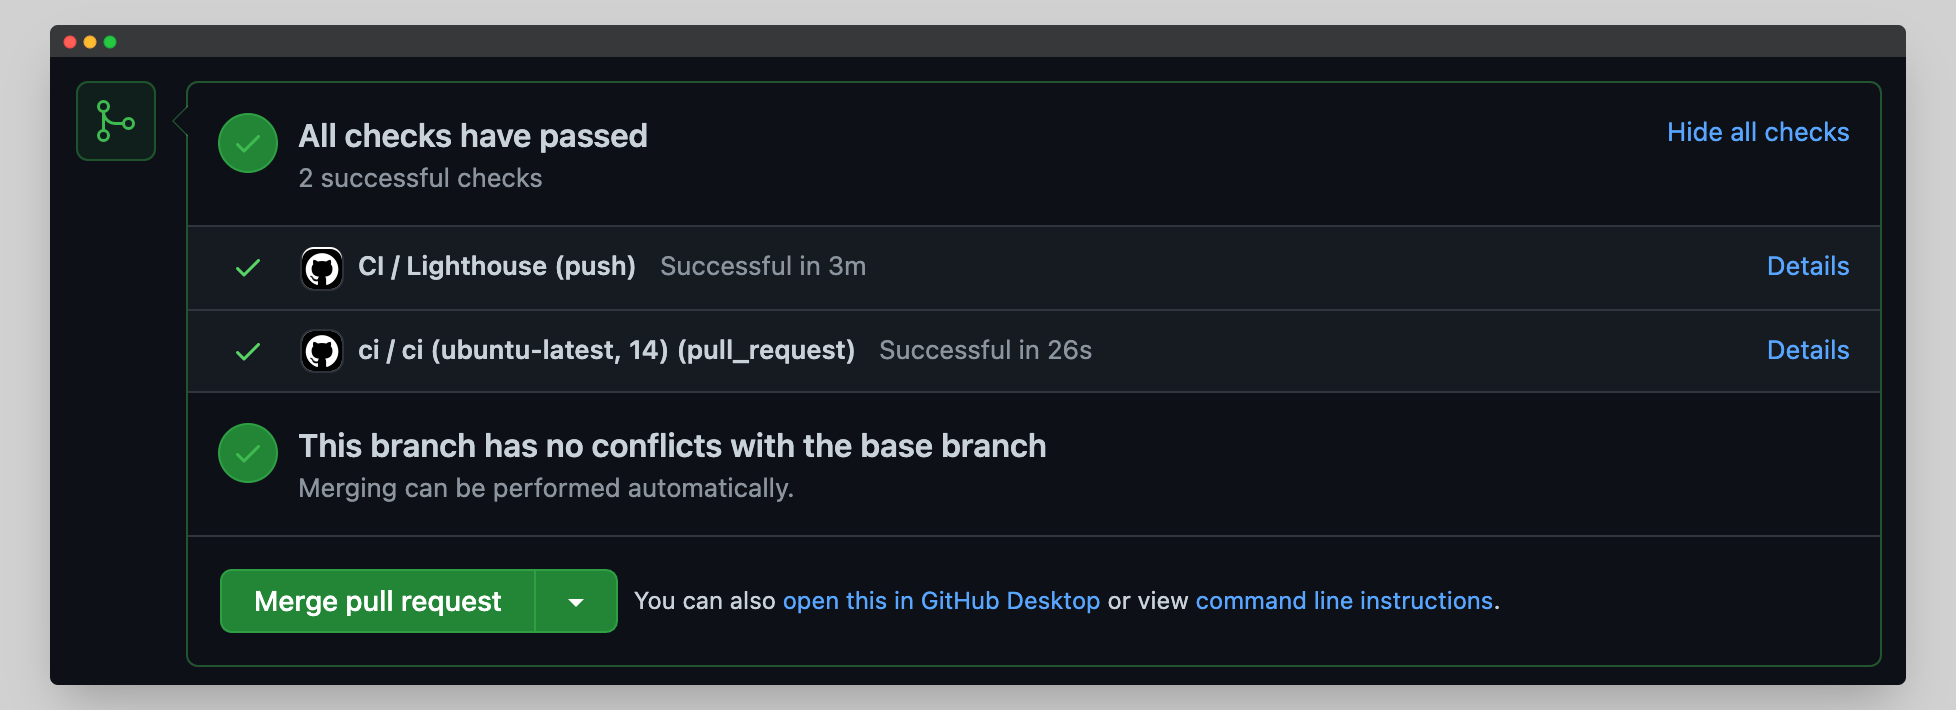
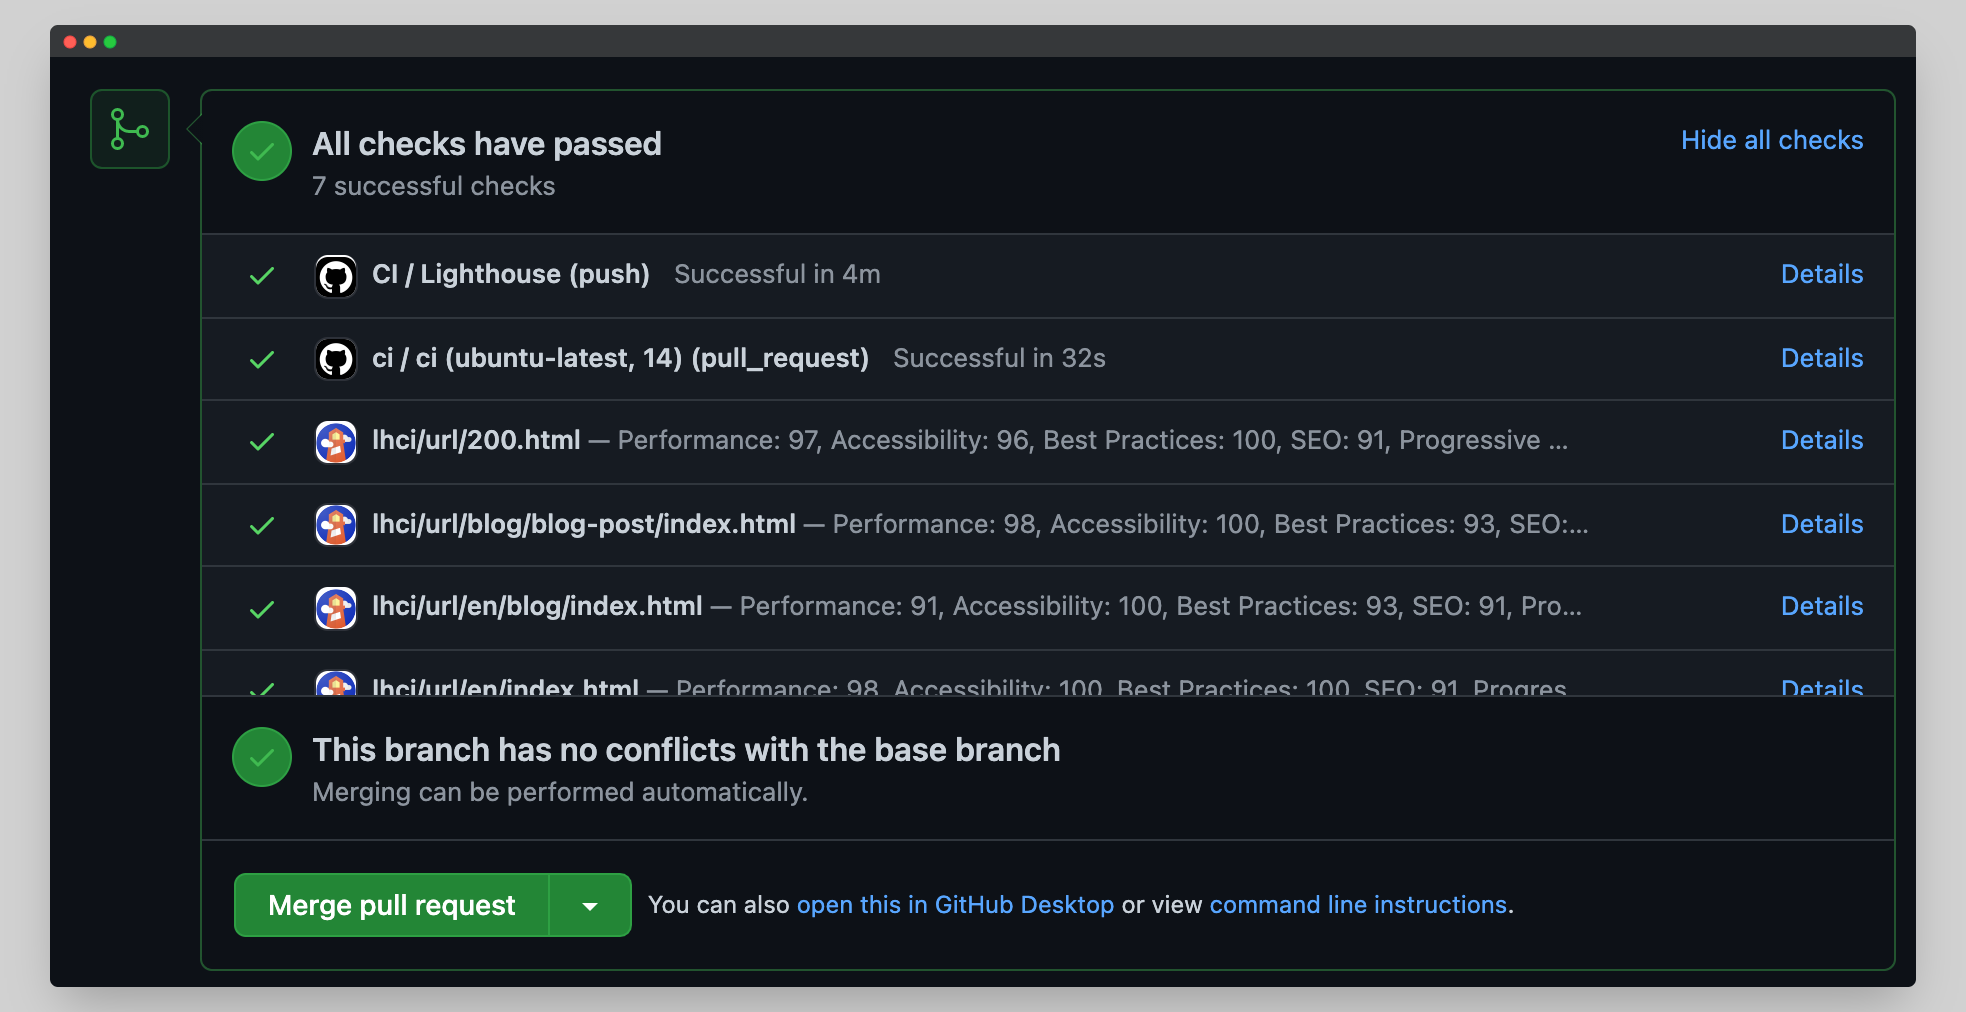
Now when you push your changes to GitHub you will see the Lighthouse CI results directly between the checks as expected! 🎉
Further improvements
The basis for a CI pipeline using Lighthouse CI is now setup, but there is much more possible. At this moment the results are just reported, but there are no hard consequences if the score is below a certain threshold.
Also, the results are now saved publicly on a server provided by Google. In addition, these results are saved only temporary. This is far from ideal from a security perspective (although anyone can run a Lighthouse report on your site ofcourse), and an analysis perspective because no analysis over time can be done.
For both these issues there are built in solutions which are worth looking at if you want your project to bea bit more professional.